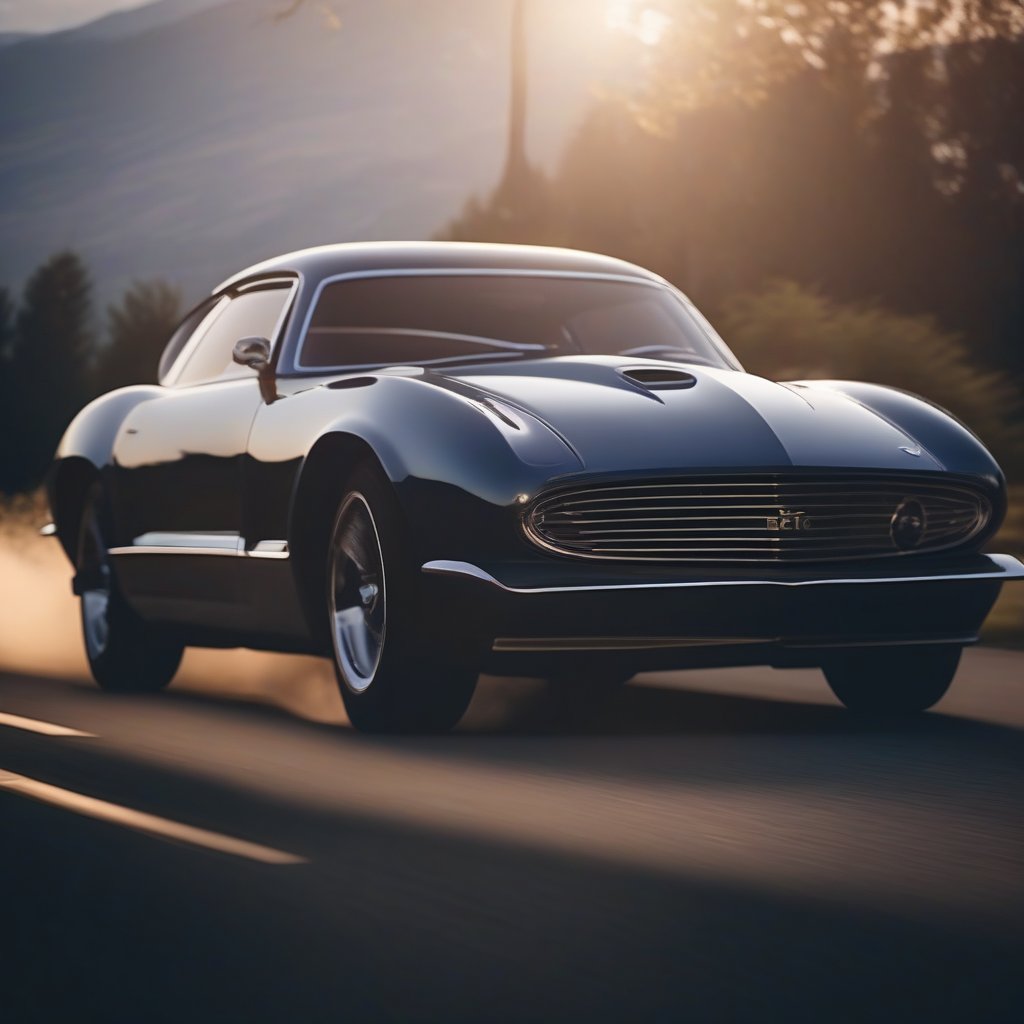
We have decided to explore the fascinating world of applying the rapidly gaining popularity stable diffusion technique to vehicle images. This article will empower you to change the background and surroundings of your vehicle images as you wish, and add striking shadows to your vehicles. Although this article appears to focus specifically on vehicle images, you have the potential to transform all images using the masks you can obtain with this algorithm
With this blog post, you can easily create masks, achieve a professional look, and have the ability for visual editing.
The 'Stable Diffusion' algorithm initially requires masks for the images. Let's delve into two separate code snippets in Python to automatically obtain masks for images.
1. Obtaining Masks Automatically from Images
1.1 Sending API Requests to the Remove.bg Website
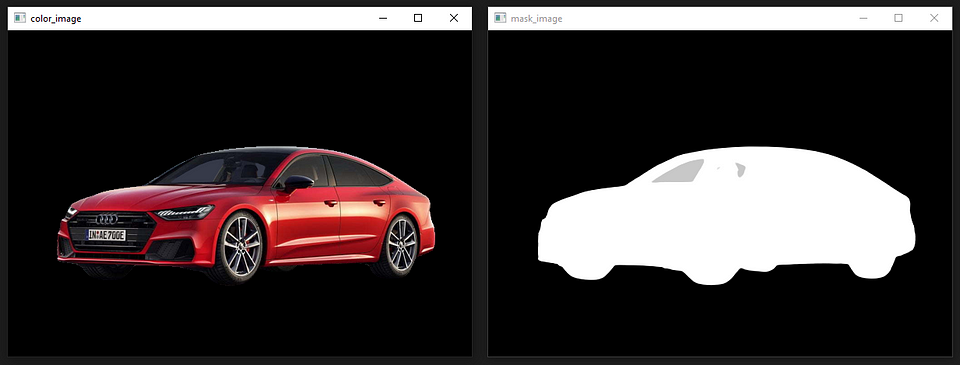
You can visit the remove.bg website and explore the 'Remove Background' tab. Below is an example image in the following figures.

To send requests for background removal using Python, you need to sign up on the website and obtain an API KEY.

You can access the API reference through the provided link. Below are Python code examples and output images that can be used for images read from a file or processed as 'np.array'.
import requests
from PIL import Image
import numpy as np
import io
import cv2

def get_image_handler(img_arr):
    ## np.array görüntülerini buffer'e export etme fonksiyonu.
    img_arr = cv2.cvtColor(img_arr, cv2.COLOR_RGB2BGR)
    ret, img_encode = cv2.imencode('.jpg', img_arr)
    str_encode = img_encode.tobytes()
    img_byteio = io.BytesIO(str_encode)
    reader = io.BufferedReader(img_byteio)
    return reader

class RemoveBG:
    def __init__(self, image_path:str):
        self.api_key = "ed3eUhrQfo8hxYEovyjVtMER"
        self.url = "https://api.remove.bg/v1.0/removebg"
        self.header = {'X-Api-Key': self.api_key}
        self.image_path = image_path


    def request_with_image_path(self):
        ## Dosyadan okunan görüntüler için kullanılabilir

        response = requests.post(self.url,
                    files={'image_file': open(self.image_path, 'rb')},
                    data={'size': 'auto',
                        'add_shadow':0, # 1 ile gölge eklenir.
                        'format': 'auto',
                        'scale':'original'},
                    headers=self.header,)

        if response.status_code == requests.codes.ok:
            rgbaImage = np.asarray(Image.open(io.BytesIO(response.content))) ## 4 Kanallı görüntü elde edilir,
            color_image = cv2.cvtColor(rgbaImage[:,:, :-1],cv2.COLOR_RGB2BGR) ## Renkli görüntünün elde etmek
            mask_image = rgbaImage[:, :, -1] ## Maske Görüntüsünü elde etme
        else:
            mask_image, color_image = None, None
            print("Error:", response.status_code, response.text)

        return mask_image, color_image


    def request_with_array_image(self):
        ## np.array olarak işlem gören görüntüler için kullanılabilir.
        response = requests.post(self.url,
                    files={'image_file': get_image_handler(np.asarray(Image.open(self.image_path)))},
                    data={'size': 'auto',
                            'add_shadow':0,
                            'format': 'auto',
                            'scale':'original'},
                    headers=self.header,)

        if response.status_code == requests.codes.ok:
            rgbaImage = np.asarray(Image.open(io.BytesIO(response.content))) ## 4 Kanallı görüntü elde edilir,
            color_image = cv2.cvtColor(rgbaImage[:,:, :-1],cv2.COLOR_RGB2BGR) ## Renkli görüntünün elde etmek
            mask_image = rgbaImage[:, :, -1] ## Maske Görüntüsünü elde etme
        else:
            mask_image, color_image = None, None
            print("Error:", response.status_code, response.text)

        return mask_image, color_image

if __name__ == '__main__':
    remove_bg = RemoveBG(image_path='audi_001.jpg')
    mask_image, color_image = remove_bg.request_with_image_path()
    mask_image2, color_image2 = remove_bg.request_with_array_image()

    cv2.imshow("mask_image", mask_image)
    cv2.imshow("color_image", color_image)
    cv2.imshow("mask_image2", mask_image2)
    cv2.imshow("color_image2", color_image2)

    cv2.waitKey(0)
    cv2.destroyAllWindows()
1.2 CarveKit Algorithm
The Carvekit algorithm provides the user with 4 different masking models and image pixel size for each model.

CarveKit recommends using the U2net model for human images and the tracer_b7 model for general images. You can also experiment with different models via Colab.
To install the CarveKit library, you can follow the steps below:
##  CPU KULLANIMI
pip install carvekit --extra-index-url https://download.pytorch.org/whl/cpu

## GPU KULLANIMI (Nvidia markalı 8GB'tan fazla vram'ı olan ekran kartları)
pip install carvekit --extra-index-url https://download.pytorch.org/whl/cu113

## MODELLER

from carvekit.ml.files.models_loc import download_all
download_all();
For post-processing, the U2-Net model is recommended in the CarveKit algorithm. It has been observed that other models may cause distortions in the image.
The algorithm accepts images in the Python Imaging Library (PIL) format as input. Below is an example code snippet.
In addition, the CarveKit algorithm is capable of extracting masks for multiple images simultaneously.
from carvekit.web.schemas.config import MLConfig
from carvekit.web.utils.init_utils import init_interface
from PIL import Image
import numpy as np
import cv2

class CarveKit_BG:
    def __init__(self):

        ## CONFİG PARAMETRELERİ
        self.SHOW_FULLSIZE = True #@param {type:"boolean"}
        self.PREPROCESSING_METHOD = "stub" #@param ["stub", "none"]
        self.SEGMENTATION_NETWORK = "tracer_b7" #@param ["u2net", "deeplabv3", "basnet", "tracer_b7"]
        self.POSTPROCESSING_METHOD = "none" #@param ["fba", "none"]
        self.SEGMENTATION_MASK_SIZE = 640 #@param ["640", "320"] {type:"raw", allow-input: true}
        self.TRIMAP_DILATION = 30 #@param {type:"integer"}
        self.TRIMAP_EROSION = 5 #@param {type:"integer"}
        # self.DEVICE = 'cuda' if torch.cuda.is_available() else 'cpu'
        self.DEVICE = 'cpu'

        self.config = MLConfig(
                        segmentation_network=self.SEGMENTATION_NETWORK,
                        preprocessing_method=self.PREPROCESSING_METHOD,
                        postprocessing_method=self.POSTPROCESSING_METHOD,
                        seg_mask_size=self.SEGMENTATION_MASK_SIZE,
                        trimap_dilation=self.TRIMAP_DILATION,
                        trimap_erosion=self.TRIMAP_EROSION,
                        device=self.DEVICE)

        ## MODEL INITIALIZE
        self.interface = init_interface(self.config)


    def main(self, image:Image):
        images = self.interface([image]) ## Birden fazla görüntüyü algoritmaya dahil edebilirsiniz.

        rgba_image = np.asarray(images[0])
        color_image = rgba_image[:, :, :-1]
        mask_image = rgba_image[:, :, -1]

        return cv2.cvtColor(color_image, cv2.COLOR_RGB2BGR), mask_image

if __name__ == '__main__':
    image = Image.open('audi_008.jpg')
    carvekit_bg = CarveKit_BG()
    color_image, mask_image = carvekit_bg.main(image=image)

    cv2.imshow("mask_image", mask_image)
    cv2.imshow("color_image", color_image)

    cv2.waitKey(0)
    cv2.destroyAllWindows()
ADDITIONAL NOTE
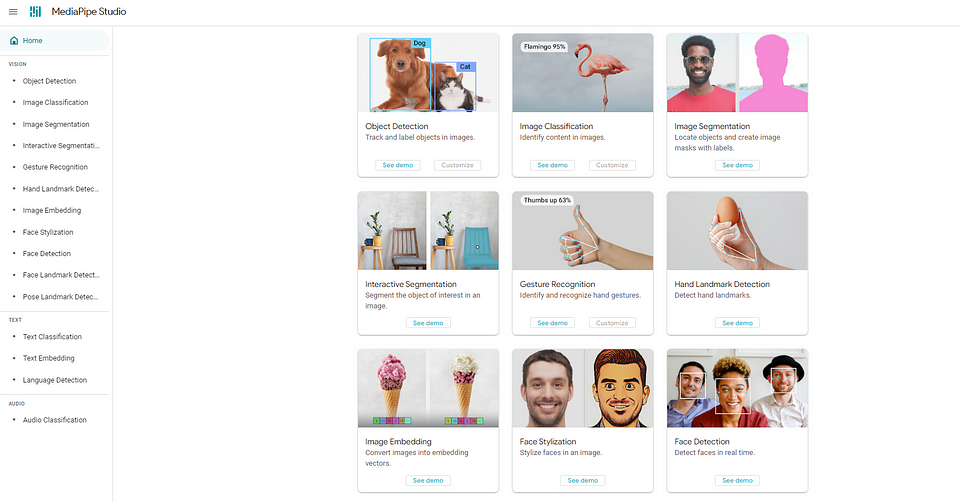
Besides these two algorithms, you can also explore Google's MediaPipe algorithm. You can try models for online object detection, image segmentation, hand gesture tracking, image classification, face detection, and more. By reviewing the documentation of these models, you can access JavaScript, Python, and Android code.

Here, you can obtain the mask of a desired region on an image using the 'interactive image segmentation' model.
In our next article, we will address the stable diffusion topic with these masks and share the codes. We hope you enjoy reading it


